
You are currently viewing the article on an older Shopware version!
Orders
Overview

The order overview (1) provides you with a list of all orders placed by your customers.
With the button Add order (6) you can call up the module for creating an order. More information about creating an order can be found here.
In the overview, you have the option to hide/show individual columns (4) using the drop down menu (2) or to use a compact mode (3), which summarizes the displayed table a bit more.
You can also manually define the sorting of the individual columns (5) to adjust them according to your wishes.
To the right of the overview you will find tools (7) to update the displayed orders or to filter them further and thus narrow them down more precisely.
Filters
If you click on the Filter Button, the following list of options appears.

You can combine options within the filter to reduce the list of results. The filter-options add up, so every additional entry reduces the list.
Filter options
| Option | Beschreibung |
|---|---|
| Affiliate code (1) | The Option Affiliate Code filters the List of Orders to those in wich the code was used. The List of Options only appears if there are Affiliate Codes defined. |
| Campaign code (2) | Here you can choose a Code to filter the Orders uppon a Campaign. The List of Options only appears if there are Campaign Codes defined.. |
| Documents (3) | Choose, if you want to see Orders with or without Documents attached. |
| Order date From and To (4) | Choose a timeframe in wich a order was placed. If you click on the calender symbol on the right a date picker appears. |
| Order status (5) | Filters the status of an order. (Open / In progress / Cancelled / Done) A multiple selection is possible. |
| Payment status (6) | Seaches orders upon payment status. (Cancelled / Chargeback / In progress / Unconfirmed / Refunded / Reminded / Authorised / Open / Paid (partially) / Failed / Paid /Refunded (partially) ) A multiple selection is possible. |
| Deliverystatus (7) | Searches orders on the state of delivery. (Returnded / Returned (partially) / Shipped / Canceled / Open / Shipped (partially) ) A multiple selection is possible. |
| Payment method (8) | Set a filter on the payment method. You can choose between payment methodes. What is selectable depends on installed payment plugins such as PayPal, Amazon-Pay. A multiple selection is possible. |
| Shipping method (9) | Searches orders on the selected shipping methodes. You can select between shipping methodes that are defined in the settings of your shop. A multiple selection is possible. |
| Sales Channels (10) | Sets a filter on the sales channel(s) that are available in your shop. A multiple selection is possible. |
| Billing Country (11) | Seaches orders on teh billing country(s). A multiple selection is possible. |
| Shipping country (12) | Select orders on countries the deliveries are shipped. A multiple selection is possible. |
| Customer group (13) | Filters orders on customer groups. A multiple selection is possible. |
| Tags (14) | Filters order on given Tags. A multiple selection is possible. |
| Products (15) | Select orders on products. A multiple selection is possible. |
Order details
The order details can be opened by clicking on the order number (1) or the item View and deleted (3) within the context menu (2) of the order.
Here you can view the selected order in detail and manage the items and the accounting or delete the order.
However, once an invoice has been created, the option Delete can no longer be selected.

Details
In the detail view you get more information about the order.
You can also cancel the order, if necessary.

Customer data: Here you see all personal data of the customer, who placed this order, again in an overview.
Order data: You have here the view on all additional details to this order, as well as the selected shipping and payment method.
Items
Here you have the possibility to see the individual items of this order, as well as the calculation of the sum of the items.
You can also add new products as positions, edit existing ones or remove them.

The items of the order can also have, depending upon your configurations, other taxes and are calculated individually to a total price.
This enables you to offer mixed baskets for your customers.
States
The states-module allows you to adjust the order and payment status of your order.
If changes have already been made here, the module also shows you a history with an exact time stamp for the corresponding change.

Some statuses are interdependent and can only be selected when the order already has a certain status.
For example, the payment status Refunded, Refunded (partially) or Chargeback can only be assigned if the order has previously had the payment status Paid or Paid (partially).
Likewise, the delivery status can only be set to Returned or Returned (partially) if the order previously had the delivery status Shipped or Shipped (partially).
The order status can only be set to Closed if the status has already been set to In process. To set it back to Open, the order status must first be set to Closed or Canceled.
If the customer initiates an order, the purchased products are initially only deducted from the available stock. Only when you set the order status to Completed, the purchased products will also be deducted from the stock.
In case of a return, the order status is decisive for the stock chargeback. As soon as you set the order status from Closed to Canceled, the stock and the available stock will be increased by the quantity of the items. For the order status to be set to Canceled, it must previously be set to Open.
The delivery status Returned or Returned (partially) has no effect on the stock. The function of a partial return is currently not integrated in the standard of Shopware. In Shopware Rise there will be a return management in the future. You can find more detailed information here.
As a workaround, you can create a cancellation invoice for the entire order. After that, you edit the order and delete the returned products from the items. Now you can create a new invoice for the remaining products.
Since the order status is not changed in this method, the stock must be adjusted manually.
If you change a status through the respective drop down menu, a modal will open, which you can use to send an email about the new status to the customer.
You can also attach documents already generated for the order (e.g. delivery note or invoice) to the e-mail.

You can select the documents to be sent from the list (1). If you do not want to send an email, set the Send email to customer (2) switch to inactive before updating the status (3).
The email is filled by a template of the appropriate type.
If no template has been assigned to the sales channel in which the order was placed, you will receive a selection window in which you can assign the template.
An X means that the receipt has not yet been sent. A √ means the receipt has already been sent.

In the overview you can choose the existing templates (1). If there is no or no suitable template available, you can directly call up the editor to create email templates (2). You can confirm the selection by clicking on the button Assign email template (3), then the new status will be set.
If you want to change the status without assigning an email template, you can do this by clicking on the button Don't assign an email template (4).
In the business-events you can define for which status which email template should be used. You can find out how to use the business events here.
Shipment
Here you will find all the details for delivery of your order.
This includes the shipping method, the delivery date, the shipping costs and the address to which the order should be delivered.

Documents
The document templates are managed within the document module, in your settings.

After you have clicked on Create New you can select which type of document you want to create for this order. To create the document you have to make the following settings:

Number and date (1): Enter here the number of the document and the date, which should be entered on the document. This information is necessary if you create the documents with Shopware. By default, the next number from the respective number range is selected as the number.
Upload custom document (2): If you don't want to create the documents like invoices or delivery bills with Shopware but the documents are already available as PDF, activate this option. In a further step you have the possibility to upload this PDF. In this case, the input number and date will not be reproduced on the document.
Comment (3): The comment is noted in the standard at the bottom of the document.
Preview (4): With this button you can see in the browser how the document created by Shopware would look like. Own documents are not considered here.
Edit Order
If you have opened the order details of an order, you can access the edit mask of the order by clicking the edit button in the upper right corner.

Details

Tags (1): The tags allow you to store keywords for your product. These keywords can then be used within the rules, for example. If you click in the field, the keywords already stored for other products, media or customers will be displayed. To add a new word, simply write it into the field and confirm with Enter.
Email-adress (2): Here you can change the e-mail address of this order. All status mails will use the new e-mail address for the delivery of the e-mails. The standard e-mail address of the customer account will not be changed.
Phonenumber (3): Here you can leave a customer phone number for possible questions about this order.
Adresses (4):& At this point you can change the delivery address and the billing address of this order. The standard delivery address and billing address of the customer will not be changed.
Track and trace codes (5): Here you can enter any tracking codes of the shipping service provider. The customer will see this number in his customer account in the details of the respective order.
Items
In the items section you can remove or add items to the order. Here you can adjust the price, the quantity and the tax rate individually.

Delete (1): To delete items mark on the left side. A Delete button will then appear above the table to remove the selected items.
Add product (2): Here you have the possibility to add a created product using the drop down menu.
Add custom item (3): Here you can add a position. Instead of the drop down menu you can enter a name for the position and then enter your own price and tax rate.
Add credit& (4): Here you also insert an empty position and assign a name yourself. As gross price you enter a negative amount. The tax rate is automatically based on the tax rates that already exist in the order. If there are products with different tax rates in the order, auto is indicated here and the tax rate is taken from the product which was added first.
Show product& (5): Hier gelangst Du zur Konfigurationsseite des jeweiligen Produktes
Bulk edit
Bulk edit offers you a easy and quick way to change multiple orders at the same time.

You can select individual orders (1) or all orders that are displayed on this page (2), you have the option to select orders on multiple pages. The maximum orders that can be selected at once are 1000. The number of currently selected orders (3) is displayed in above the orders. The option to deselect all orders (4) is only shown if you have selected products from multiple pages. To edit the selected orders click bulk edit (5).
After clicking bulk edit, a modal will popup will show you the orders you have selected.

In this overview you have the option to remove orders from you current selection. Once you are satisfied with your selection click start bulk edit.
Status

(1) Payment status: Select this option to change the payment status of the orders.
(2) Delivery status: Select this option to change the delivery status of the orders.
(3) Order status: Select this option to change the order status of the orders.
(4) Send: status emails: as soon as you change at least one status (payment, delivery or order status) you can decide whether the customer should receive an email about the status change.
If this option is deactivated, no more emails will be sent. This is relevant if you have defined a flow that sends emails and is triggered, for example, by the bulk edit of a status. In general: If the option is deactivated, no more emails will be sent via the flow, even if it can still be executed.
(5) Send: Documents: This option is available as soon as the previous option (4) is activated.
Here you can now select whether the customer should also receive a document in addition to the status e-mail. If documents already exist, they are automatically sent to the customer as an attachment in the status e-mail. However, it is important that only the most recent receipt is used. So if you create a receipt by changing the Merfach, this is the one that will be sent. Regardless of whether there is already another receipt.
You can use the checkbox "Skip already sent documents" to prevent the customer from receiving a duplicate document.
Please note that you can only change the order status to a status that is valid for all selected orders.
e.g. An order with the status open can be changed to in progress and cancelled, an order with the status in progress can be changed to done and cancelled. If you select an open and in progress order you can only change these to cancelled since this is the only status that is valid for both orders.
Generate documents
With the bulk edit you can create documents for the selected orders. It is also possible to create several documents at once. However, if a document already exists, it will not be created again using the bulk edit function.
Invoice
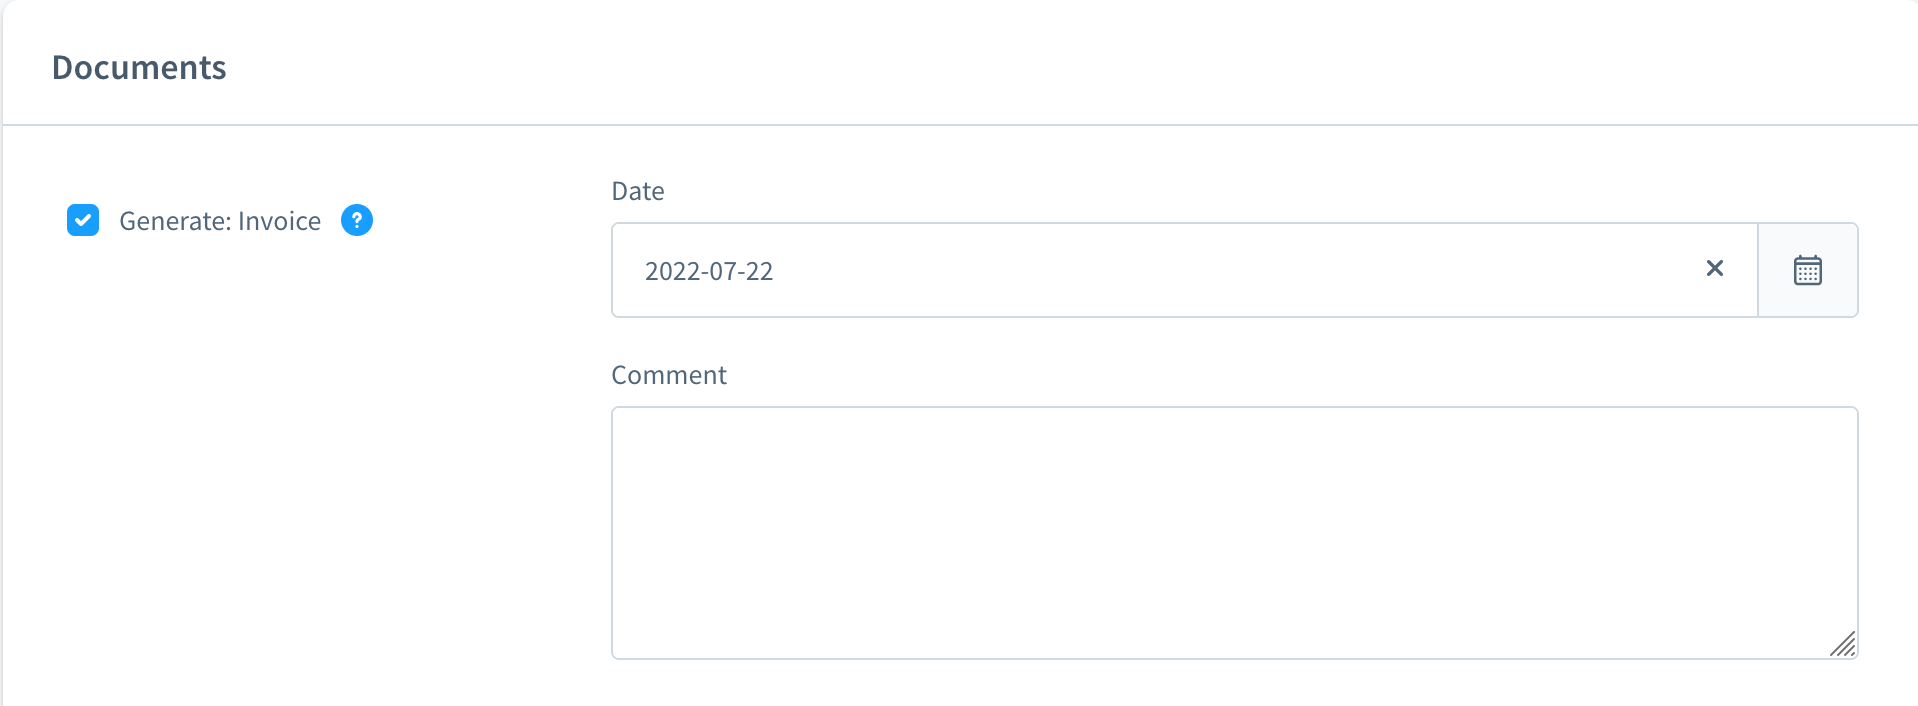
To create an invoice, you must select a date. Optionally, you can also enter a comment.
In addition, the value of the corresponding number range is increased when the invoice is created. This happens automatically, so you do not have to make any further entries here.
Storno bill
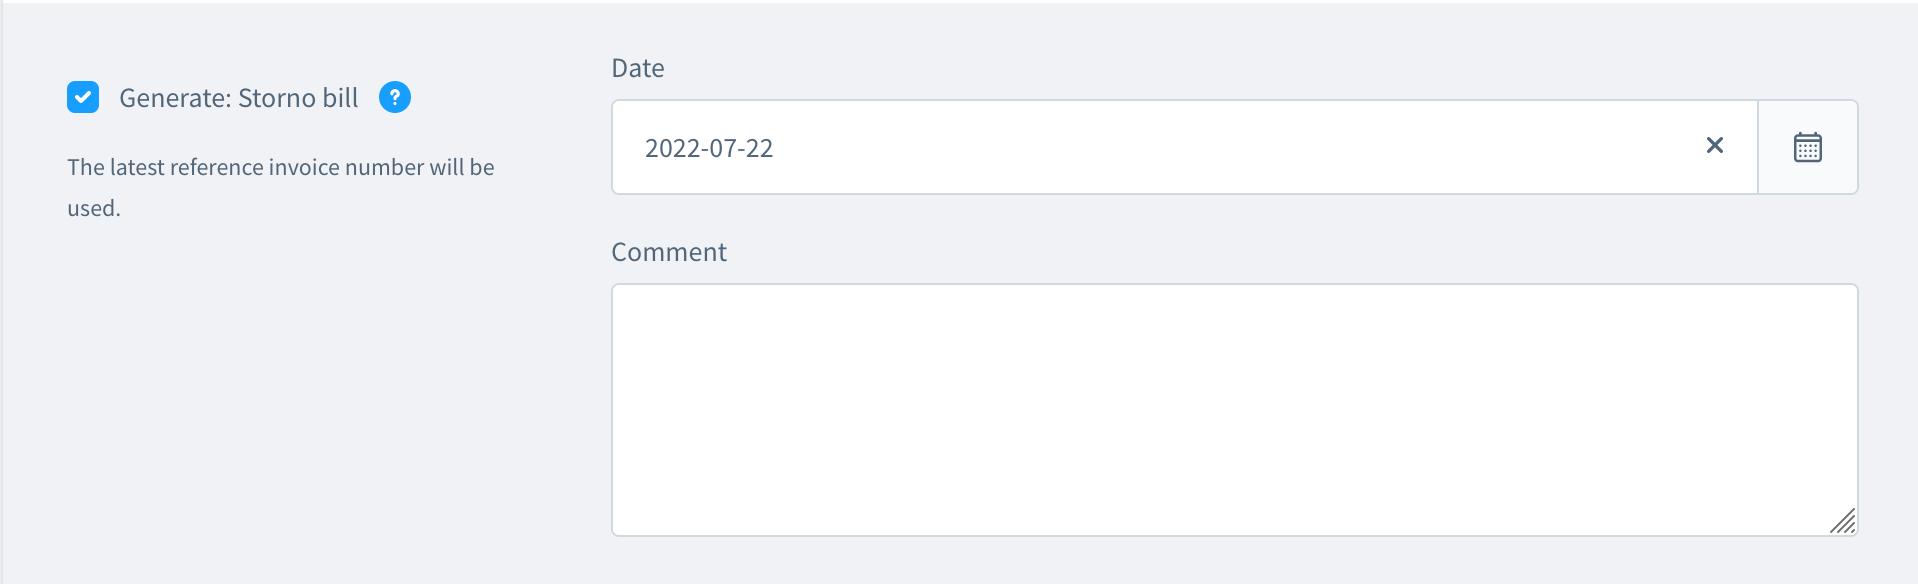
In the case of a cancellation invoice, the value of the corresponding number range is also automatically increased. Here, too, you do not have to enter a manual invoice number because the last reference invoice number is always used.
You can also enter a date and a comment.
Delivery note

For the delivery note, the value of the corresponding number range is also automatically increased. You can also enter a date and a comment.
Credit note
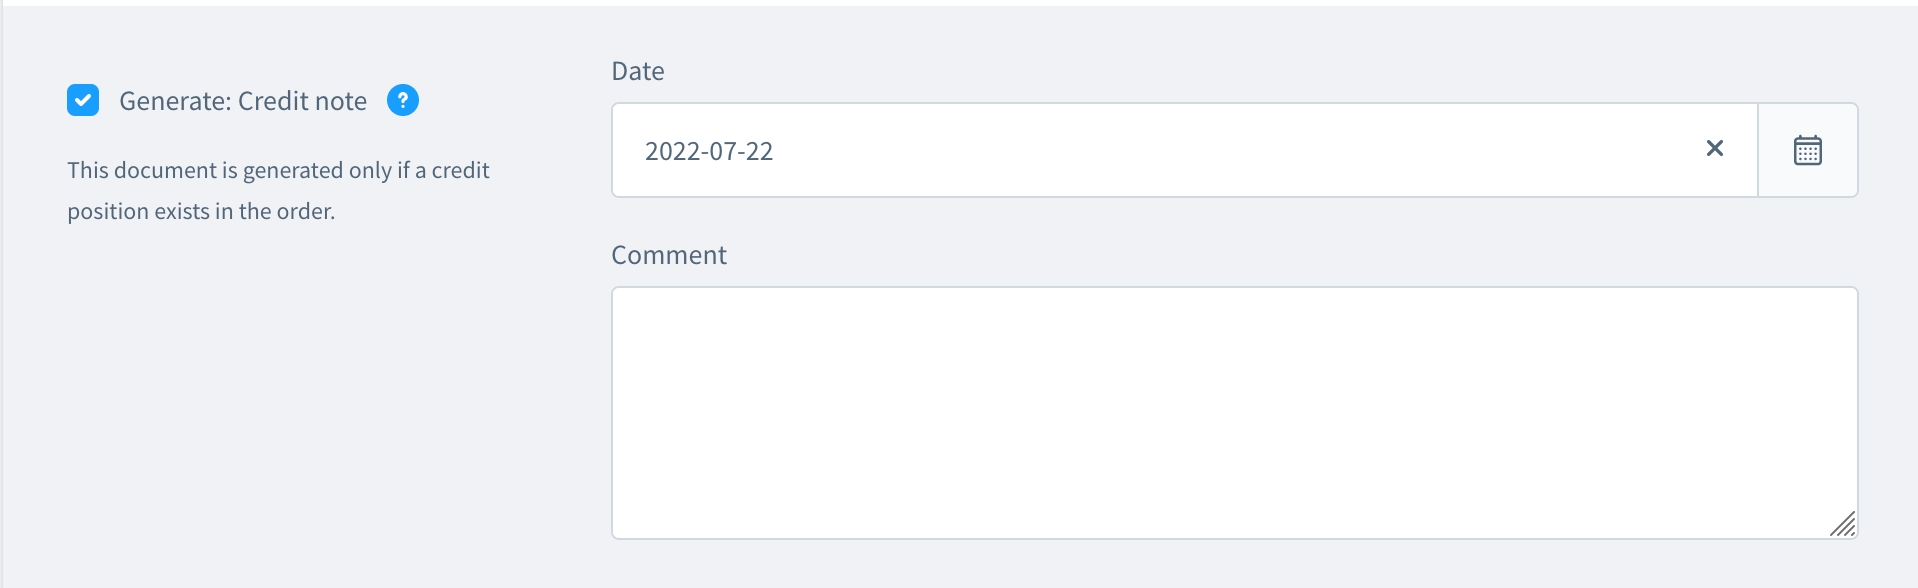
This document is only created if there is a credit note item in the order.
Similar to the other documents, the value of the corresponding number range is increased for the credit note. You can also enter a date and a comment.
Download
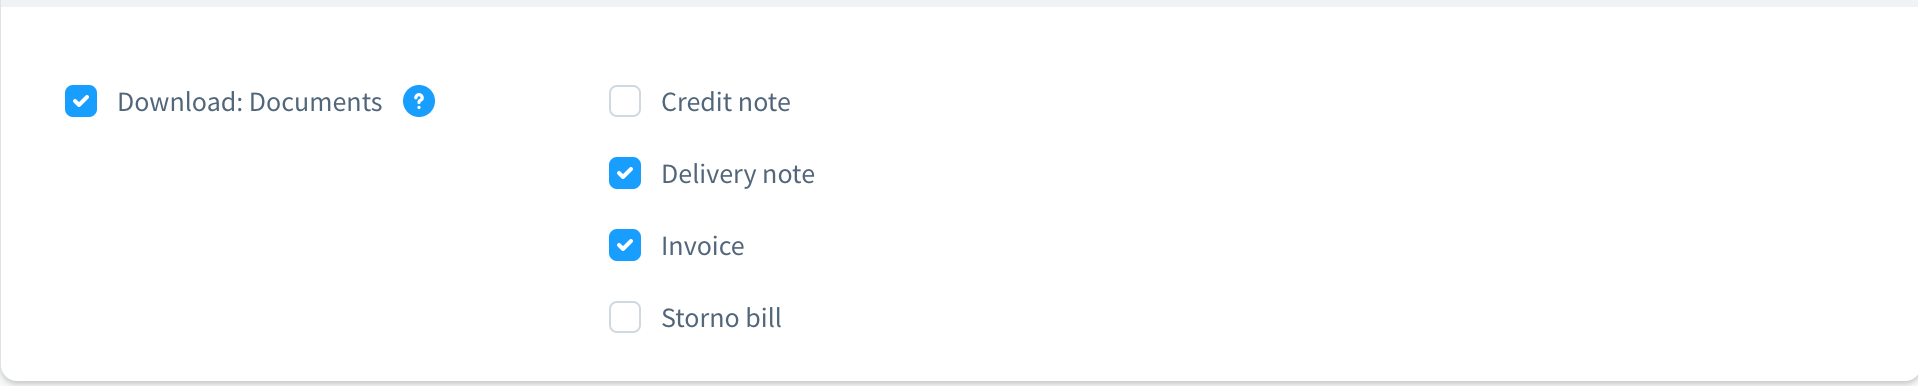
You can download the documents via this option. It is not even necessary to create new documents via bulk edit. In this case, the most current documents of the order are always used.
You can download the documents after you have made the bulk edit. The individual documents are provided in a merged PDF file.
Apply changes
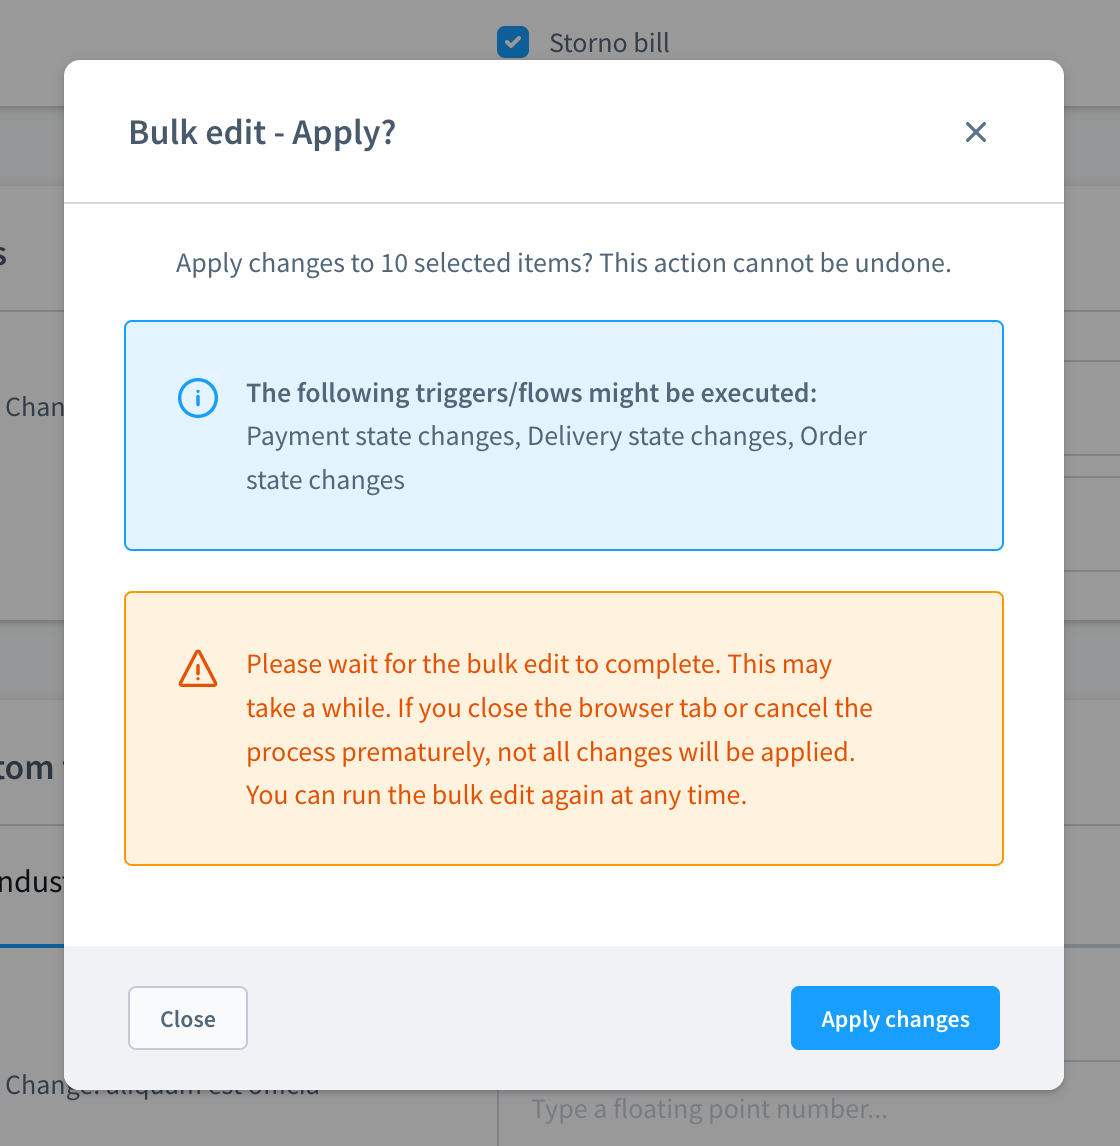
A popup will show you the number of items that are about to be changed, confirm this by clicking apply changes.
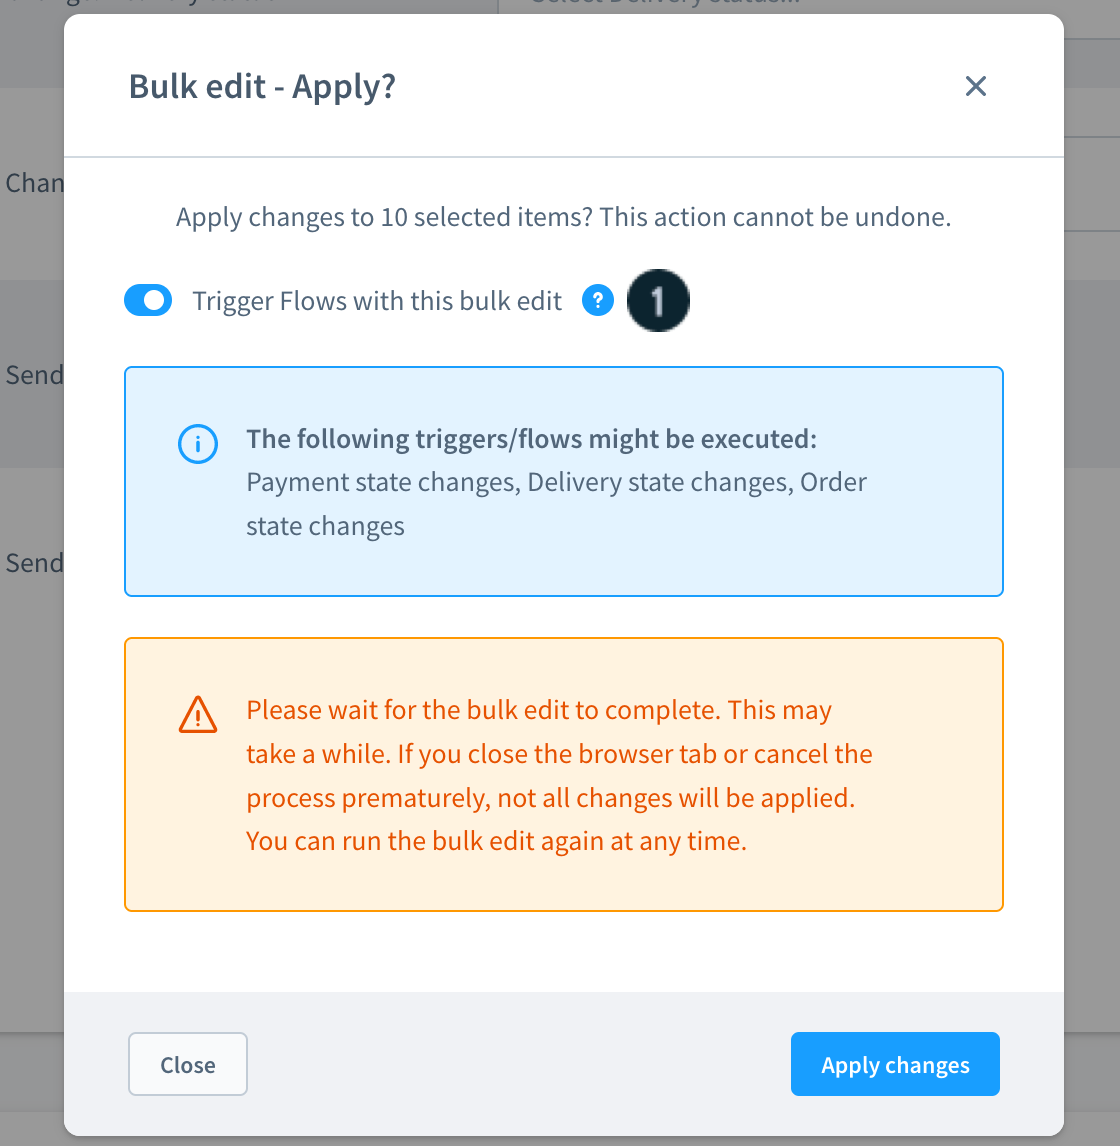
Trigger Flows with this bulk edit
If you send status emails with your multiple changes, it can happen that all triggers created in the Flow Builder are executed for all changes of this multiple change. Under certain circumstances, this can lead to flows being executed twice. You can prevent this with the Trigger Flows option (1).
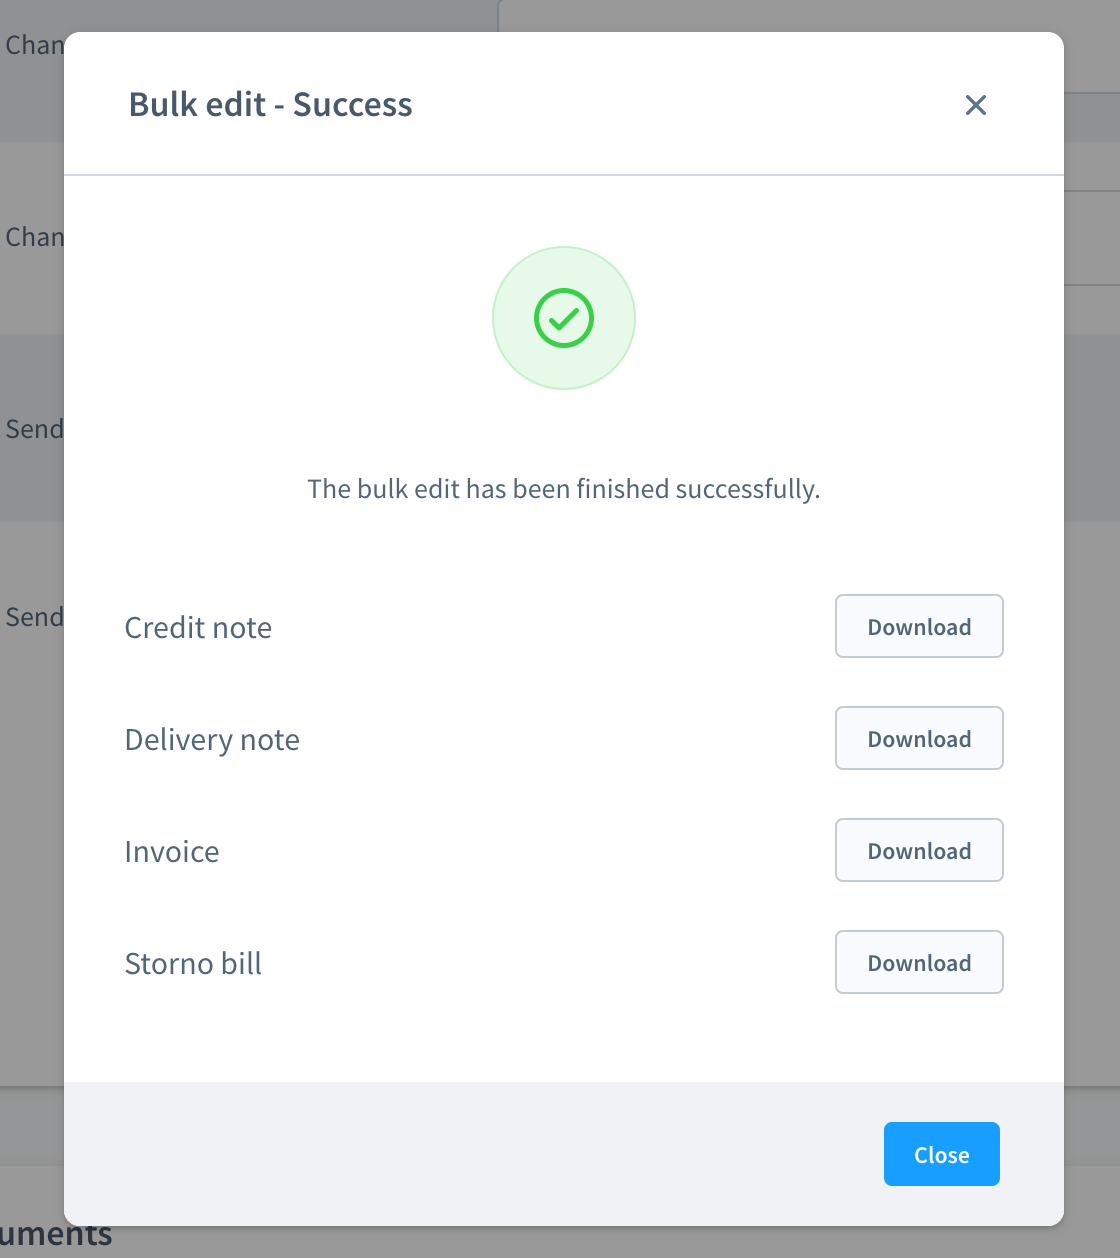
After successfully making bulk edit, the following message appears. If you have activated the download function before, you can download the documents as PDF as described.
The payment process in Shopware 6
In Shopware 6 the payment and the order are completely separated from each other. This means that, unlike in Shopware 5, an order is triggered as soon as the customer clicks on Send order.
The payment status then remains open for the time being. As soon as the customer has made the payment, the payment status changes to Paid. Usually, the customer makes this payment (for example, if he is redirected to PayPal) immediately after the order process.
Should the payment process be aborted by the customer or an error occur, the customer can also initiate the payment again in his customer account at a later date or change the payment method.
The customer can see his order including the delivery status and the payment status in the order overview of his account.

Change payment method (1): This option takes the customer back to the checkout page of the order, where he can update the payment method and carry out the payment process again.
Repeat order (2): Here the customer can place the order again. When this option is clicked, a new shopping cart will be created with the products in the corresponding order. The shopping cart can also be edited afterwards (e.g. payment or shipping method). In the end, the order must be placed manually as usual by clicking on the order button.
Cancel order (3): The customer can cancel the order completely. To allow the customer to cancel an order, it is necessary to activate this option& in the admin under Settings > Cart settings > Enable refunds.
Orders without customer account
In the checkout, a customer may also choose to place an order without creating a customer account by ticking the checkbox. Registered customers have the option to view and edit their orders in their customer account under the item Orders.
Unlike orders placed by a registered customer, customers who place a guest order without registering cannot log in to their customer account and thus have no way to view their order again.
Therefore, in the order confirmation email, they will receive a link to view their order.

After the customer has authenticated himself with his e-mail address and postal code, he has access to his placed order and can make changes there.