
Installing Shopware - from download to shop
The first question you will ask yourself is what you have to do to get a shop. And this question may not be as trivial as you thought at the beginning. As preparation you have to think about many things like the choice of the domain name, the hoster or also the installation way. This article is intended to help you make your decision.
Which hosting should I use?
The minimum requirements are important when looking for the right hosting. So please take an initial look into the system requirements and choose your hosting based on these information. Keep in mind, system requirements describe the absolute minimum configuration to run Shopware on!
Shared hosting
Shared hosting is the cheapest form of hosting. With shared hosting multiple user accounts are based on a single physical server, sharing the server's resources between them.
Advantages: In shared hosting, the hosting service will be responsible for updating the server and also takes care of security updates, so you won't have to keep yourself busy with a lot of administration. Shared hostings neither need to be installed nor configured. Once you bought the hosting, you can immediately start using it. Because the hosting service puts multiple users onto one physical server, the costs of this hosting model are the lowest.
Disadvantages: Because multiple user accounts are based on one physical server, the system's resources are shared with all users. So you may experience habitual decreases in performance, e.g. when other users run applications with heavy hard disk usage (I/O load) or much CPU load. That's why in shared hosting there are no guaranteed performance levels. In addition to that, shared hosting is hardly customizable and in most cases provides no SSH access.
Suggestion: Shared hosting should be considered a minimum requirement for running Shopware. In case you are just building your enterprise and for new businesses that don't yet generate much traffic, a shared hosting might be the right solution.
vServer
vServer as well as shared hostings gather multiple users on one physical server. But on a vServer the different users still share one physical machine, but are separately placed into individual VMs.
Advantages: Because of the separation into VMs you have guaranteed performance for your virtual (!) CPU and RAM, no matter how high the usage is on the other VMs at the same time. Because you get a personal VM, you are able to choose your OS and configure the machine according to your own needs using SSH access. You also don't have to be afraid of data theft caused by potential security weaknesses introduced by your "neighbours".
Disadvantages: Because a VM is customizable like a root server, the installation overhead tends to be similar as well. The OS oftentimes is preinstalled, but you will have to install all other applications and services you might need. Most vServers provide some kind of support, but (security) updating your machine remains a task of yours. Shell knowledge therefore is mandatory. Furthermore you still share your physical server with other users. This may impact access to the physical hard drives (possibly harming I/O performance) and your overall available network bandwidth.
Suggestion: If you generate substantial amounts of traffic with your shop, if you want to build your own processes, manage many items with complex configurations or use multiple databases - given the fact that these tasks don't require much I/O performance - a vServer may be the right choice for you. But be aware of administrative tasks that will presumably fall into your responsibility.
Managed vServer
A managed vServer is a vServer, which is administrated through the hosting service. This way you don't have to e.g. apply updates, in return, the managed vServer is more expensive.
Root server
If you decide, using root servers is the way to go, your hosting service will provide complete physical server machines just for you. Nobody else uses these servers' resources and you'll get all the performance out of your machine all the time, including I/O and network bandwidth.
Advantages: You rent a whole physical server with individually configurable hardware specs. You can utilise all this performance without any restrictions. You also get the full hard drive (I/O) performance and network bandwidth.
Disadvantages: Because you deploy a complete physical server, you will have to care about the whole thing. This may start as early as the need to install a complete LAMP package (Linux, Apache, MySQL & PHP), even if in the most cases, the OS is preinstalled. Most root server setups will provide some kind of support, nonetheless you will have to take care of installing (security) updates. You should thus have a decent amount of know-how on the use of your OS and shell at your disposal.
Suggestion: If your shop generates much I/O or extreme CPU load, or you have to build individual processes, a root server is the right choice, providing fully guaranteed performance. But always keep in mind the administrative tasks, which turn out to be very important these days!
Managed root server
A managed root server is a root server that is administrated by the hosting service. This way you don't have to apply regular updates, on the other hand the managed root server of course is more expensive.
What should I be worried about?
CPU
Computing power is needed, when Shopware e.g. delivers uncached content, checkouts are made and when you are working in the backend. All these interactions are based on computations and database interactions. Shared hostings will split up their calculating power between all users, vServer will guarantee you a number of virtual (!) cores and a root server has the whole CPU working just for you.
RAM
RAM is needed to quickly save data and make it temporarily available for the rest of the system. Some caching technologies make use of your system's RAM. This includes caching data on OS Level and also may be relevant for caching websites in the RAM. Shared hostings divide their available RAM between all users of a machine, a vServer will have guaranteed RAM available for you, equal to the setup of a root server.
Storage access (I/O)
Storage access is needed every time data has to be written to or read from any hard disk drive or SSD. This comprises e.g. creating new items, uploading images or other database transactions. Shared hostings will split up all the I/O performance between all users. A vServer will allocate I/O access too, but generally has to serve fewer users at once. A root server will hold all the performance available just for you, there is no sharing of resources and I/O access is guaranteed all the time.
Network bandwidth
Generally a network connection is obligatory for a server to gain access to the internet and provide access to your shop via the frontend or backend. The network bandwidth determines the amount of time needed to handle requests and connections. This is important because it will affect your administrative work via the backend as well as the user's experience while browsing your shop. In shared hosting the network bandwidth is split up between all users (note: this includes administrators as well as customers). On a vServer the bandwidth is shared too, but usually divided by a lot less users. Of course, a root server only has to handle traffic concerning your own shop, you won't have to share bandwidth, neither with other shops nor their owners or customers.
Why a certified hoster?
A certified hosting services will set up a system that is custom-tailored to the needs of a Shopware environment. You only have to install Shopware and will be about to start your shop in no time. But be careful, if you book a hosting via a non-certified hosting service, you may not able to install Shopware at all, because of possible missing requirements.
Keep in mind, that this applies to shared hostings only. If you utilise a vServer or even a root server, you will have to set it up completely on your own.
Who can install Shopware for me?
Installation by Hoster
Many hosters offer the possibility to install the desired software directly at the conclusion of the contract. This is usually very comfortable and saves you the manual installation. Whether the hoster offers such a service, you ask best directly with the Hoster. Almost all certified shopware hosters offer this possibility.
Installation by shopware AG
When purchasing a Professional Edition, you can also order the installation directly from us. Please note, however, that the initial installations will only be carried out by certified hosters. For the installation we need access to your server (FTP), as well as database access. You can order the first installation directly via a support ticket.
Install/download Shopware
In this point, we will explain you exemplarily how you can download and install Shopware.
Download installation package
You can download the installation package directly from the GitHub download page. There you will get the latest shopware version offered.

If you decide for an older version, you will find under Changelog a list with the different versions including download.

Checksum
What are checksums and what are they used for?
With the help of programs or program extensions, checksums can be determined from a downloaded file using the set algorithm (e.g. MD5, SHA, etc.). The checksum from the downloaded file can be compared against the checksum that's specified on the download page.
Where can I find the Shopware checksums?
You can find the Shopware checksums with the algorithm SHA256 on the Shopware download page. If you display the different versions of Shopware there, a checksum will be displayed on the right-hand side next to the Installation and Update buttons when you move the mouse over them.

How do I compare checksums?
To compare the checksum, you can use a program that displays the checksum after adding the downloaded file to the program using the selected algorithm.
For example, you can use the program FileVerifier++, which is also explained as a check program at the Federal Office for Information Security.
For a more detailed explanation, please click here: Federal Office for Information Security (in German).
What to do if the checksums are different?
If the checksums are different, the data was transferred incorrectly or the checksum is no longer correct because the data was legitimately updated or the data was not legitimately changed during the transfer.
It is best not to open the downloaded file and delete it directly. If you download the file again and the checksum differs again, you should inform us about this, as there may be an error.
Shopware demoshop
If you would first like to test what you can do with Shopware without having to book a hosting package, you can contact our sales department directly and request a personalised Shopware demo shop. You can contact us here.

Shopware 5 Installer
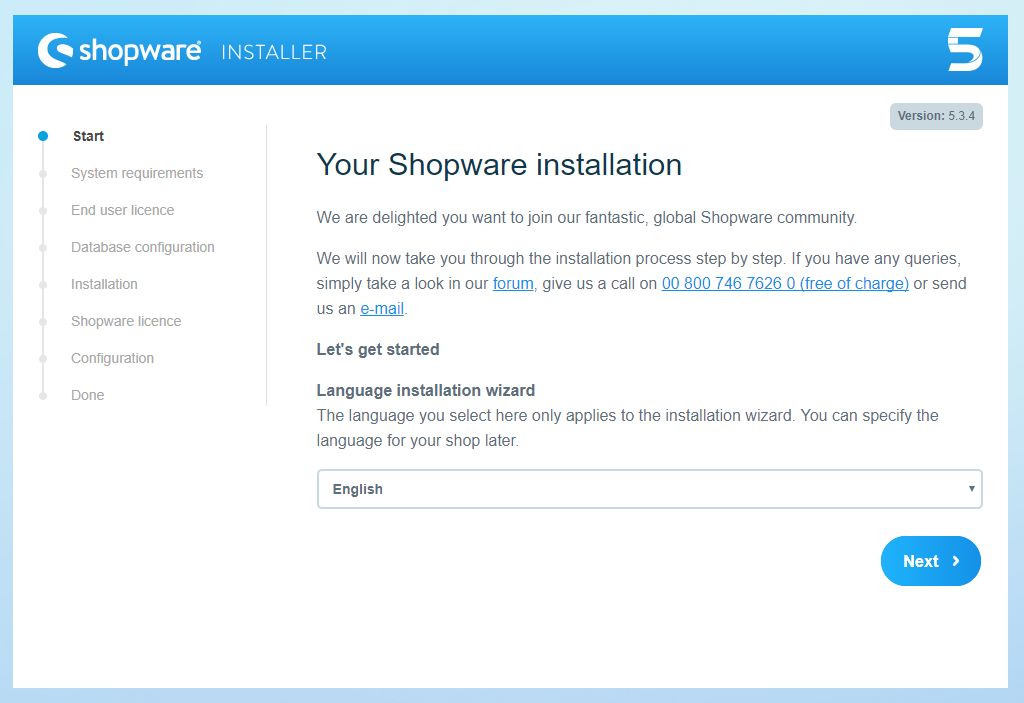
Start
In the welcome step you can select your preferred language for the installation. In an afterwards step you can also select your preferred language for the shop and its backend, this setting is just for the installation process.
System requirements
the installer dynamically checks, wheather or not the system requirements are fulfilled. Some things, which are not a absolute deal breaker for running Shopware like a missing IonCube encryption will not be faulted, because IonCube is not neccessary to run Shopware. If all requirements are fulfilled, the matrix won't show up and you can directly proceed:

If the requirements are not fulfilled, the depending setting will automatically extend and the installer shows you, what the problem is.
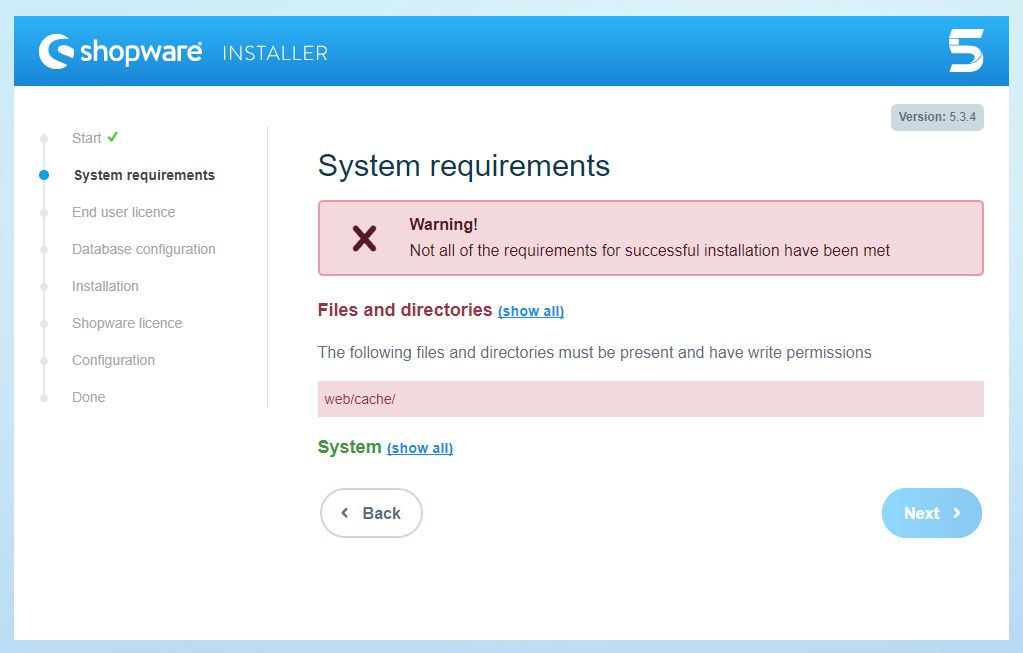
If you can't solve the problem on your own, please contact your hoster.
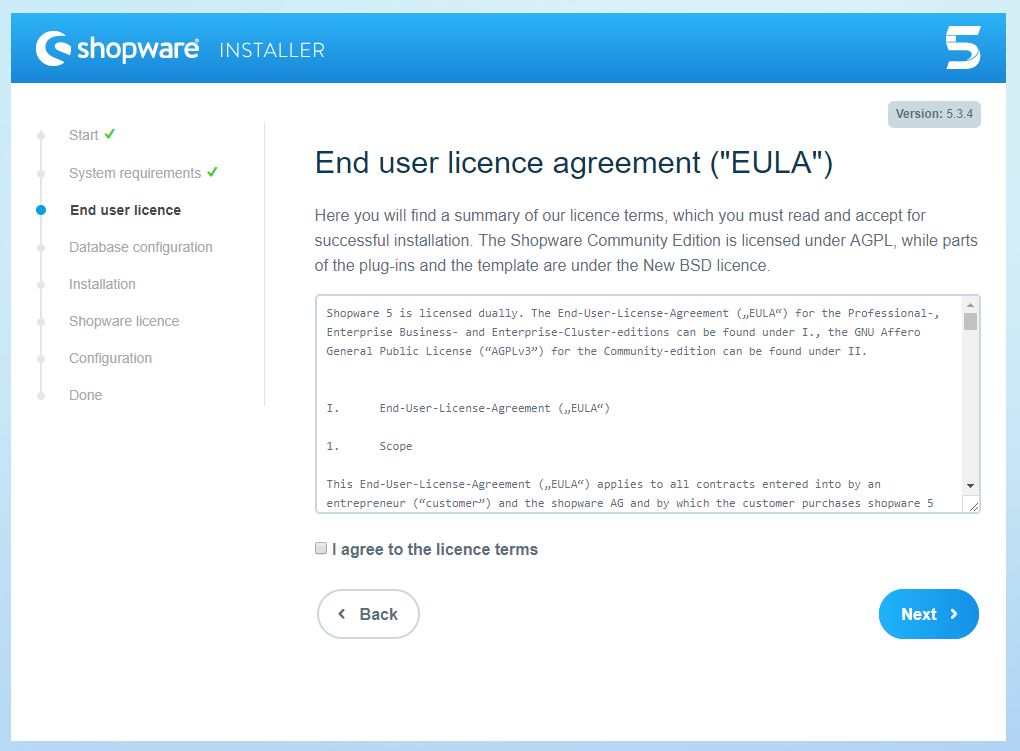
End user license
In this step you can read the license under which Shopware is licensed. To proceed, you have to agree to this license terms.
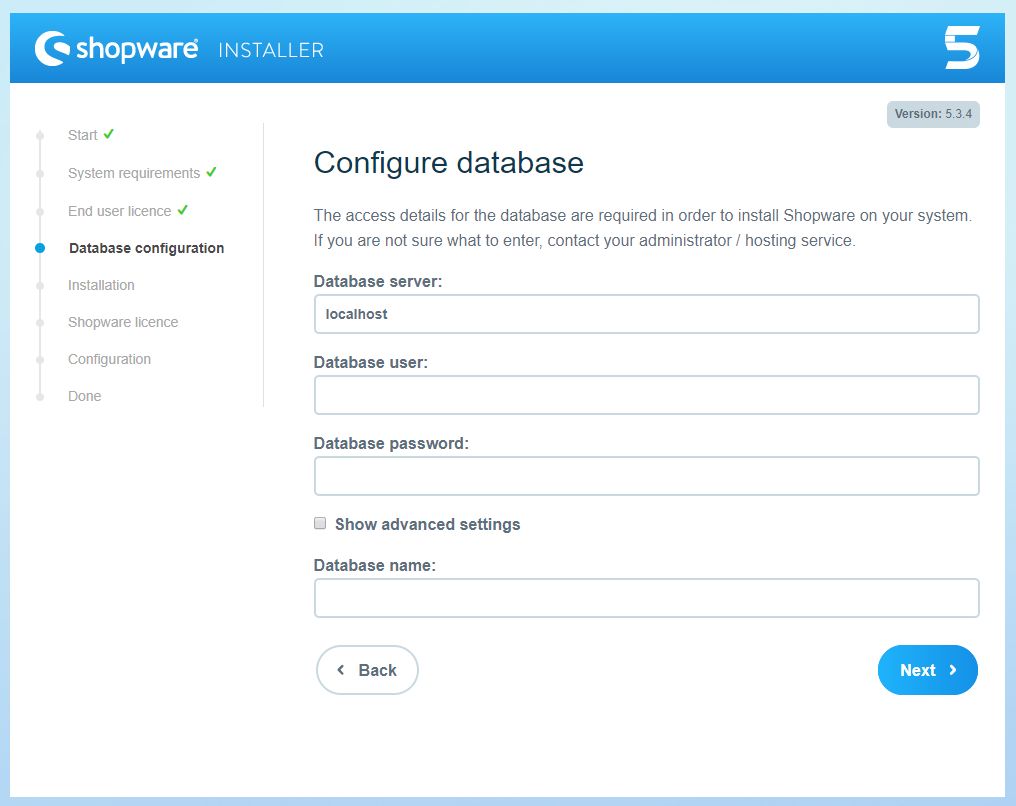
Database configuration
Here the installer asks fopr your database credentials. Before doing this, make sure, that an empty database already exists.
After entering your credentials, the field "Database name" will show all databases to which this user has access to. Choose the desired database for the Shopware installation and click Next.
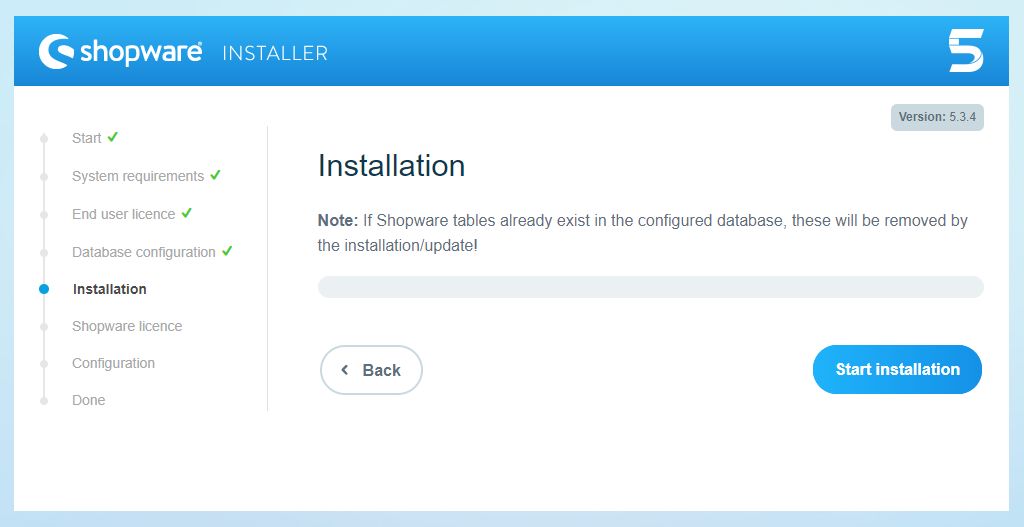
Installation
In this step the installer will install the Shopware database. Click Start installation to start the database installation.
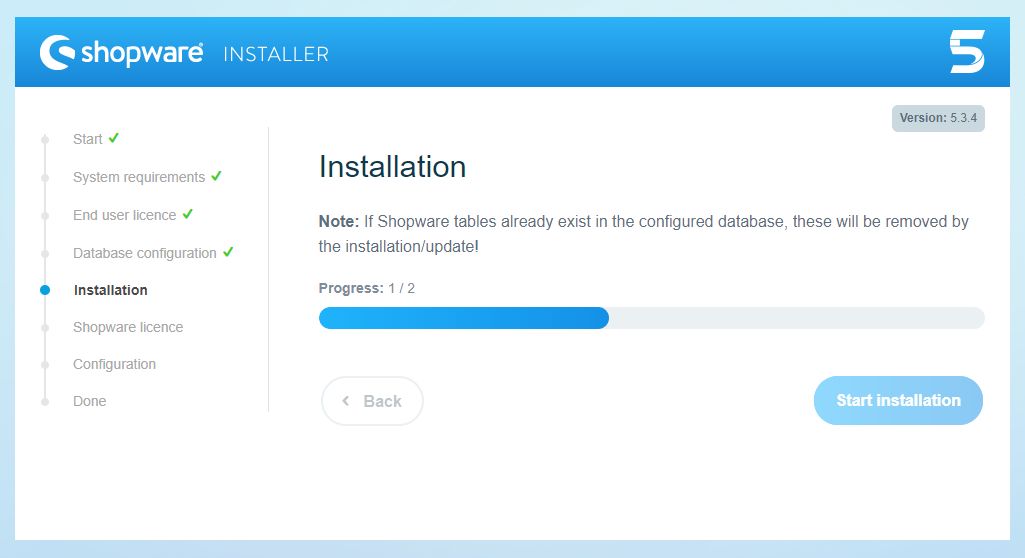
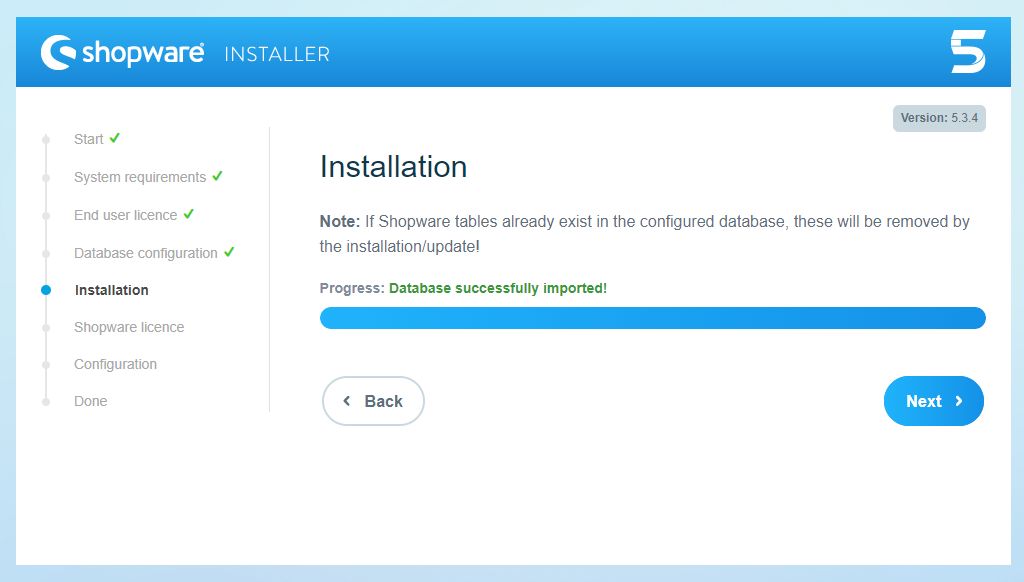
When the database is imported completely, you can proceed.
Shopware license
If you bought a Shopware license, you can enter it here. First, click on "Yes, I have purchased a Shopware license" and enter your license in the appearing field.
If you don't have a license or you are not sure what to enter, just use "No, I would like to use the free Connunity Edition", you will have the possibility to add a license after the installation.

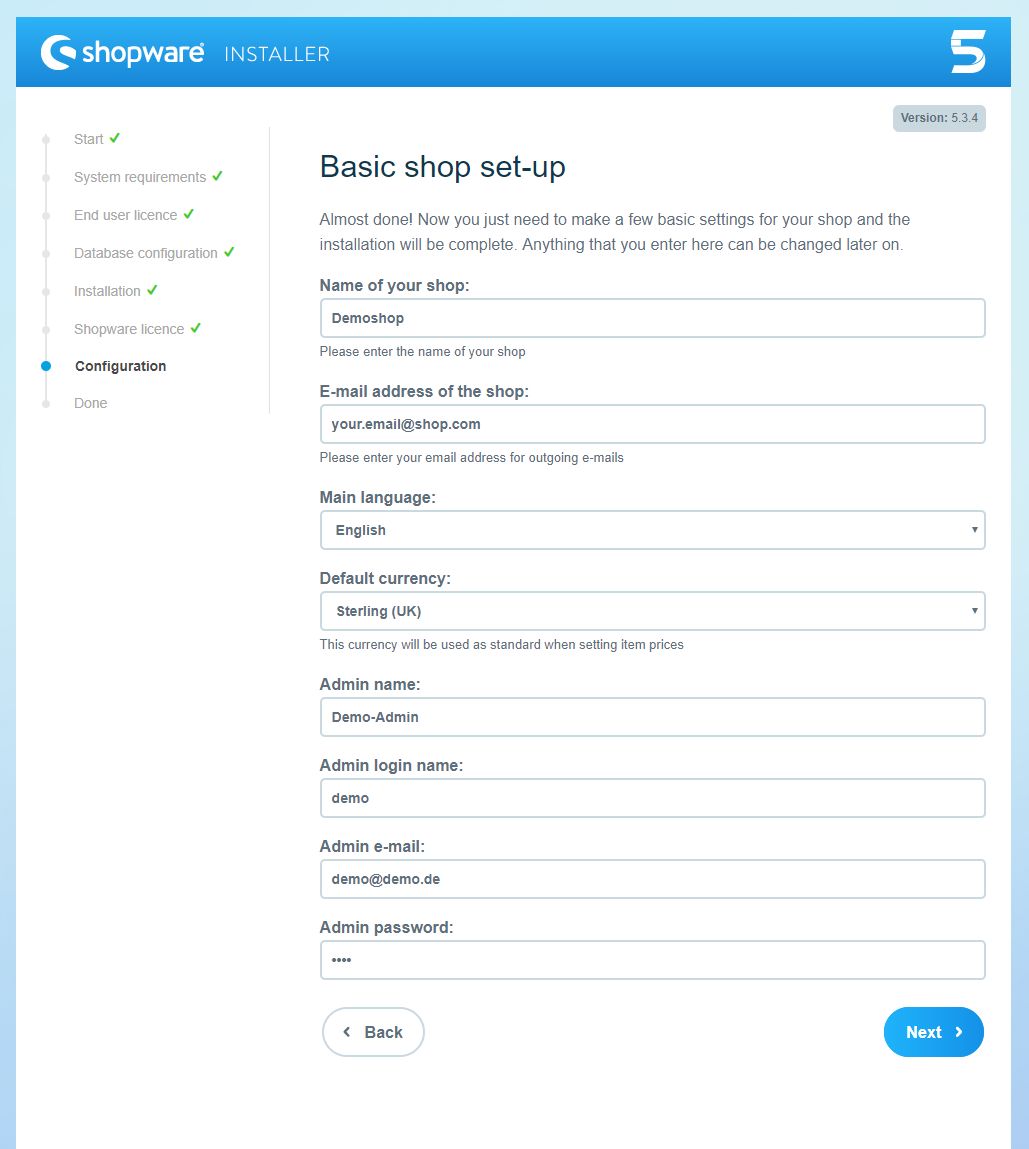
Configuration
Here you set up the basic things for your shop:
- The E-mail address of the shop will be used later for sending all the mails form the shop to your customers.
- Main language defines the language which will be used as default in the frontend and the backend.
- At the Defaul currency you can select Euro, Sterling or US-Dollar. The here chosen currency will be used as default currency in the whole shop with the currency factor 1. After the installation you can edit and add new currencies.
- The fields starting from Admin name concerns the admin user in the backend, enter the desired data here. If needed, you can add other backend users in the backend after the installation.
Done
The installation is finished and you can now switch from the installer to your backend, frontend or to the "First steps" guide, which gives you further informations about the first steps in Shopware.
Tips & Hints
Calling my Shops URL nothing is displayed!
If that happens, you may uploaded the files in the wrong folder on your webserver. In the most cases the webservers folder is called "httpsdocs" or "www". You can take a look in your hosters admin panel to see, which folder is used for displaying websites. Edit this folder or move the files in the correct one. If you have problems, please contact your hoster.
What's next?
After installing Shopware it's time for configuring it - click here for more information.