
GoLive (Migration)
In this article, we focus on the go-live of your Shopware 6 target shop.
You will learn how to convert your migration environment into a live environment, which steps you now need to carry out with your licences within your migration environment, and what other changes need to be made.
Going Live
Changes within your Shopware 6 target shop
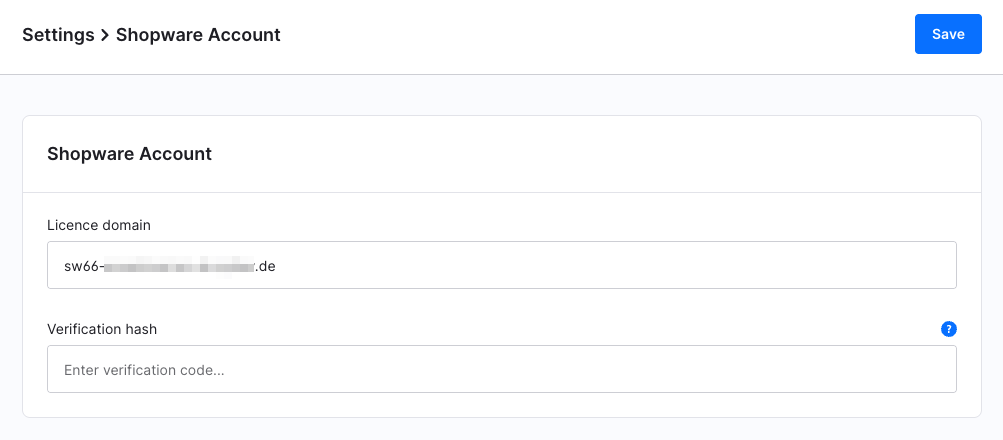
Transfer the licensing host Within the target shop, you should first transfer your licensing host to your main domain.
You can find this under Settings > System > Shopware Account.
This is the domain under which your shop is intended to be accessible.
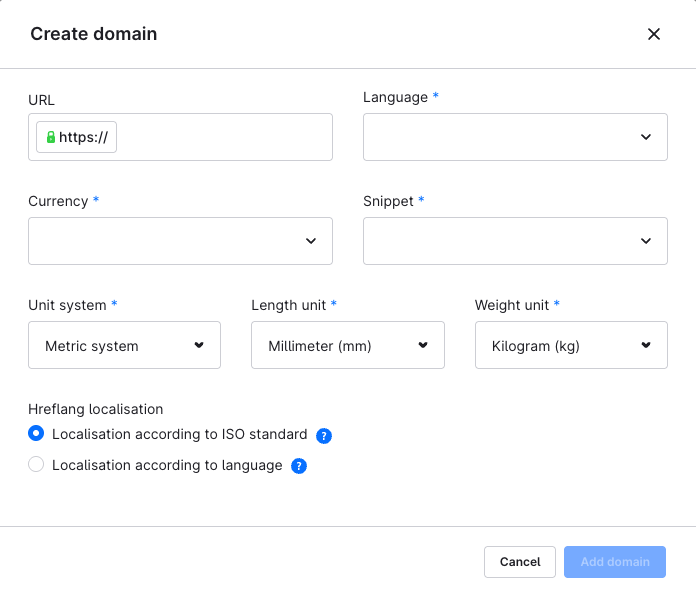
Update the domain within the sales channels
To do so, open the respective sales channel in your administration menu, then enter the appropriate domain and any other required data in the URL field.
Please note that you must complete this step for each of your sub-shops separately.
Changes within your source shop
Adjust shop settings
In your source shop, you should now adjust your shop settings accordingly, as the main domain will now run on Shopware 6. This means: if your source shop is, for example, a Shopware 5 shop, you should move it into a subdirectory and enter this accordingly under Settings > Shop settings > Shops. For a Shopware 6 source shop, you can update the domain directly in the sales channel. If you have a Magento shop that should remain accessible for security reasons, you should configure it so that it is no longer accessible under the main domain, but instead under a new one.
Changes in the hosting environment
If applicable, contact your hosting provider so that they can adjust the domain routing accordingly, allowing your shop to be accessed via the correct URL.
The shop domain must now route to the subdirectory /public/ within the Shopware 6 installation directory (e.g. shopware.com/installation-directory/public/).
If you operate your own server, we have provided an example configuration for an Apache server below.
<VirtualHost *:80>
 ServerName "_HOST_NAME_"
 DocumentRoot _SHOPWARE_DIR_/public

 <Directory _SHOPWARE_DIR_>
  Options Indexes FollowSymLinks MultiViews
  AllowOverride All
  Order allow,deny
  allow from all
 </Directory>

 ErrorLog ${APACHE_LOG_DIR}/shopware-platform.error.log
 CustomLog ${APACHE_LOG_DIR}/shopware-platform.access.log combined
 LogLevel debug
</VirtualHost>
Please note that you must replace _SHOPWARE_DIR_ and _HOST_NAME_ with your Shopware 6 installation directory and your server name.
You will also notice that the DocumentRoot directory points to the /public/ folder within the Shopware 6 installation directory.
This is required because the storefront and the administration interface are located there. In this way, it is not necessary to reference the public directory in the browser URL in order to access the storefront or the administration interface.
Finalising the migration
Once you have completed the go-live and all migrated data reflects the current state, you can finalise the migration.
Please note when migrating from Shopware 5:
If you used the Plugin Migration Assistant during migration to book test licences, you must finalise the migration there before clicking Complete migration in the Migration Assistant. Please check whether you have completed this step.
Further information about the migration environment can be found here.
During this process, the data records required for the migration will be removed from the database. Please note, however, that it will no longer be possible to update data via the migration afterwards.
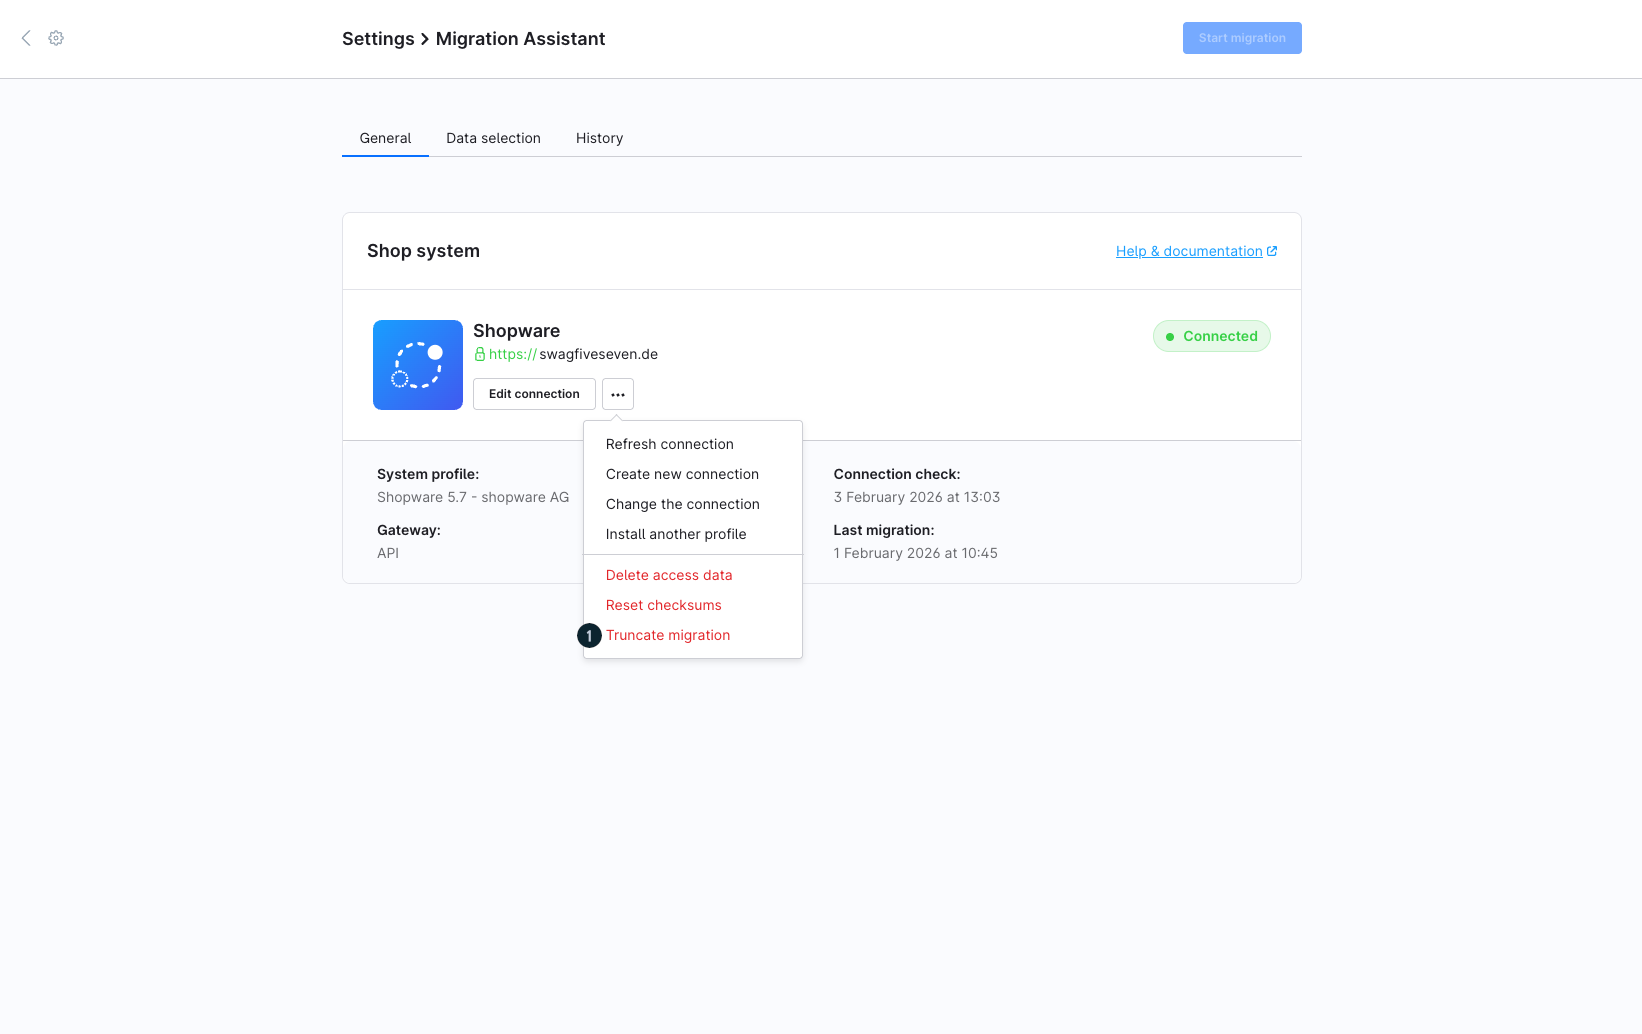
To complete the migration, navigate to Settings > Extensions > Migration Assistant. There, open the context menu and select Truncate migration (1).
For a Magento migration, we recommend not uninstalling the migration extension, as the password algorithms used by Magento would otherwise no longer be available and migrated customers would no longer be able to log in.